
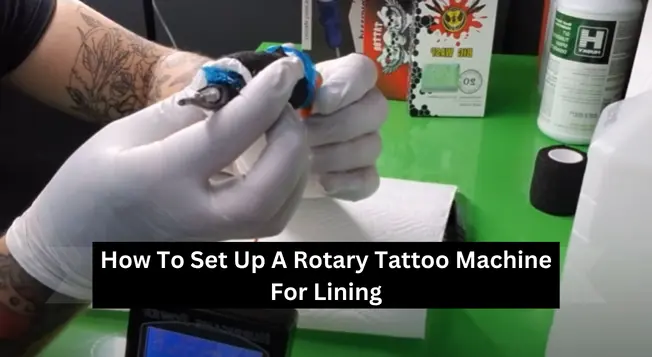
How to Set Up A Rotary Tattoo Machine for Lining
The procedure of getting a tattoo starts with the lining. In this process, the artist uses needles to draw art pieces on the body. You might get a little surprise if it’s your first tattoo.
Some users compare the discomfort of a tattoo to a razor blade biting their body, but here’s a question: How to set up a rotary tattoo machine for lining? Here, we devise a detailed explanation of setting up a machine for the lining.
How to Set Up A Rotary Tattoo Machine for Lining
The setting procedure is almost the same for lining and other traditional tattoos. You have to follow these steps one by one, and you will be able to set the standard settings for line work. Here is the detail of how a machine is set up for lining. If you want to know the ideal voltage for lining and lining tattoo needle size, this article will help you understand voltage configurations.

Follow these steps as explained to tune a tattoo machine for the lining. Further, if you want to know about the rotary tattoo machine setup, you can check this article.
1. Set the line gap
Check the space between the armature bar’s front spring and the connect screws by pressing the armature bar, which is a thick metal bar above the electric coils. You can set the spacing for line work by rotating the contact screw till there is an accurate 1 mm space between the tip of the screw and the front spring of the armature bar.
2. Needles insertion into the tube
Connect the tattoo gun properly with a needle tube. Fit the terminal of the needle bar over the rubber hole on the armature bar after inserting it into the tube. To reduce vibration and horizontal movement of the needle bar, wrap a rubber band around the tattoo gun and secure it around the front and sides of the body.
3. Needles adjustment
After needle insertion, adjust the depth of the needle according to your needs. If you change the wrong depth, it may cause a significant accident. The needle depth should be adjusted so that the contact screw gap is the same length as the needle that extends from the tip.
4. Set speed and voltage
Set the machine speed and voltage for lining by adjusting voltages. Most rotary machines display voltage and machine speed with a digital display screen. The artist can adjust speed and voltage by checking the machine’s sound.
5. Tight the needle bar
While the tattoo gun is on, check the needle. The fast-moving needle ought to resemble a single, uninterrupted column. Tighten the rubber band on the needle bar to lessen the lateral movement if it appears as many columns or if you see a shadow print.
Ideal machine Speed for Lining
The liner tattoo machine speed depends on the nature of the tattoo. It increases or decreases with the voltages. Almost all machines come with a button and display to control the voltage.
During liner tattoos, the best recommended voltage is 6 volts to 9 volts.
How to Set Up a Tattoo Machine for Coloring
As mentioned above, you must pass through the same process discussed above for coloring. A key point to remember before setting up these are; setting the gap between the armature bar and screw for color, putting the matching needles into the tube, and the last one is set on the slow speed for shading work.

people also ask
Conclusion
After studying this article, you can properly set up your machine for line and coloring work with the abovementioned steps. We hope this article helps you to understand how to set up a rotary tattoo machine for lining.