
How To Wire A Tattoo Power Supply
More than purchasing a machine and other necessary supplies is required to begin tattooing. It’s crucial to educate yourself before getting started and know how to wire a tattoo power supply. You cannot become an artist by starting your task only with the right tools. It would help if you learned how to connect a tattoo gun to a power supply to understand the tattooing.
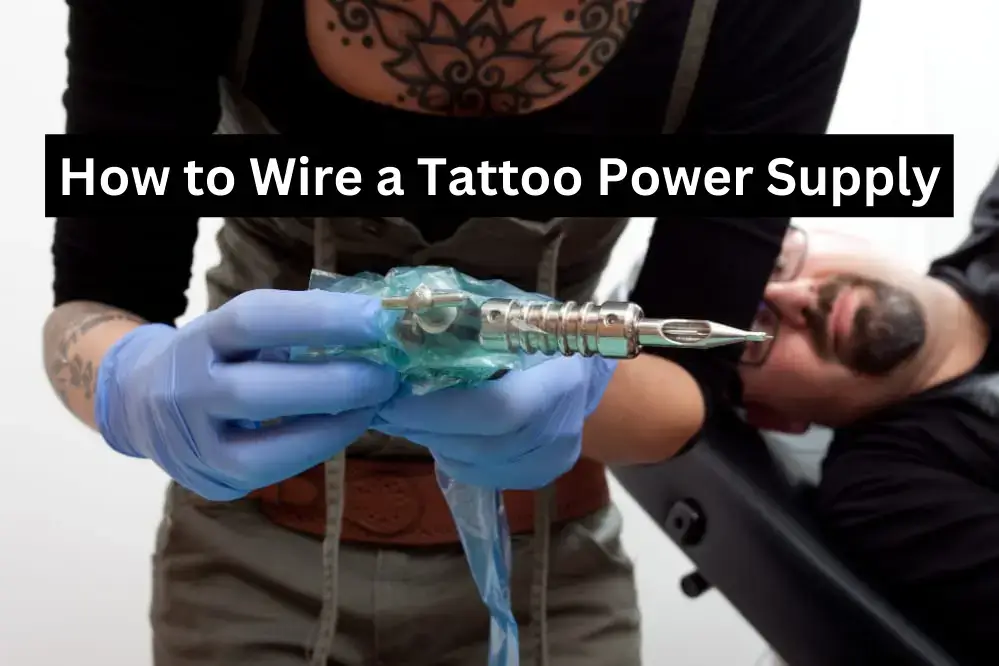
how to wire a tattoo power supply
One of the first stages of practical tattoo training is learning how to regulate the machine’s power. The power supply controls the needle’s speed, affecting how quickly ink is applied to the skin. Knowing how to properly connect and configure your tattoo machine is crucial because choosing the incorrect setting could put the client through pain and risk injury. You can check out our most recent article if you want to know how we can wire without a tattoo power supply.

Here, we explain a few steps: You can set up your power supplies to start working by following these steps: You can learn how to hook up a tattoo gun to a power supply by following these steps:
plugin
Connect to the electricity supply. A power cable might be necessary, or a power source might come with one. Make sure the connection and supply have the correct voltage for your device. Once everything has been confirmed, connect to the power source.
Plug the foot pedal and clip the cord
Connect the clip cord foot pedal, but keep in mind to move the pedal away to prevent accidental activation while configuring the power source.
Attach the clip cord
Connect the power source to the clip cord. Press the foot pedal while holding your machine in your hand to ensure everything works correctly. Check the clip wire connection on your device. The voltage may only be cranked up if the vibration is immediately felt. Turn the bolt slowly until you notice a recurring vibration.
Attached to the clip cord prongs
The clip cord’s prongs should be fastened to the tattoo machine’s lower and higher binding pin coils. The hooks must be securely attached and not loose during machine relocation.
Check from the front view
Then, move the front of your tattoo machine so that you can see the machine’s show. Inserting the armature bar tip into the tattoo needle’s loop should be visible. It ought to be going up and down so quickly that you can’t see the circle of the hand.
Press the pedal to test the machine
Press the foot pedal to activate the device. The needle must travel quickly and precisely. When the machine is running correctly and at the appropriate speed for your item, set the power source configurations.
FAQs
Conclusion
We hope you get the answer to your question about how to wire a tattoo power supply. If you’re a beginner, read the manual about setting up a tattoo power supply. If you wire the power supply incorrectly, you may face a short circuit of the power supply or tattoo machine.
Here, we explain how to configure the tattoo machine power supply. By following these steps accordingly, you can set up your power supply. But here, we suggest you only attempt tattooing practice if you have training and certificates.